Make your rims look brand new!
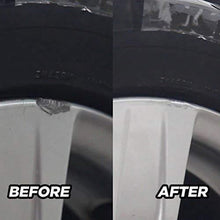
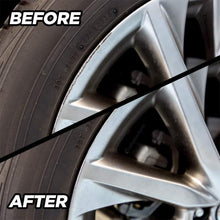
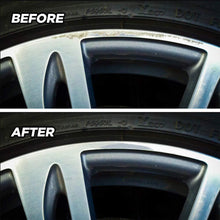
Everyone wants their rims to look showroom-floor new, and this DIY Alloy Wheel Repair Kit can make that happen, instantly! Fix curb rash, scratches, small dents, installation damage, sanding abrasions and just about any other damage that you can inflict on your alloy wheels, synthetic wheels, steel rims and hubcaps, and even other objects made of similar materials. No extra tools required and you save money on car repairs!
Save yourself time and money!
- Fix Flaws on Car Wheels- This wheel repair kit is especially designed to repair minor damages, everything from scuffs to scratches and dents to curb rash.
- Perfect Application- The paint perfectly matches that of most alloy wheels, so the end results are flawless.
- All In One- This tool kit contains everything you need, no additional tools or materials are required.
- Heat-Resistant- If properly done, repairs can withstand car washes, and are resistant to road vibrations and heat up to 266°F.
Universal Kit- Works on alloy wheels or steel wheels and can be used for hubcaps.
Follow the 6 easy steps below for flawless repairs:
1. Clean the damaged alloy wheel with the included alcohol prep pad.
2. Locate the damaged area and if only slightly damaged, use wet sandpaper to highlight outlines to repaired surface. Then lacquer the damaged area with alloy silver.
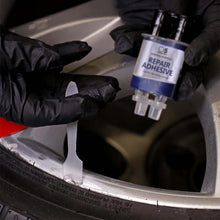
3. If the damaged area is large or includes dents, you can use the repair adhesive. Simply squeeze out the needed repair adhesive to a mat. Mix the two components to a consistent grey mass with the included spatula. (Make sure to finish mixing within 2-4 mins).
4. Fill with the mixed adhesive to overflow the damaged area. Allow to dry for 15 minutes.
5. Using wet sandpaper, accommodate the outlines to repaired surface and repeat steps 3 and 4 if necessary.
6. Clean the repaired area and brush on a thin layer of lacquer. Let it set for at least 12 hours before using your car.


